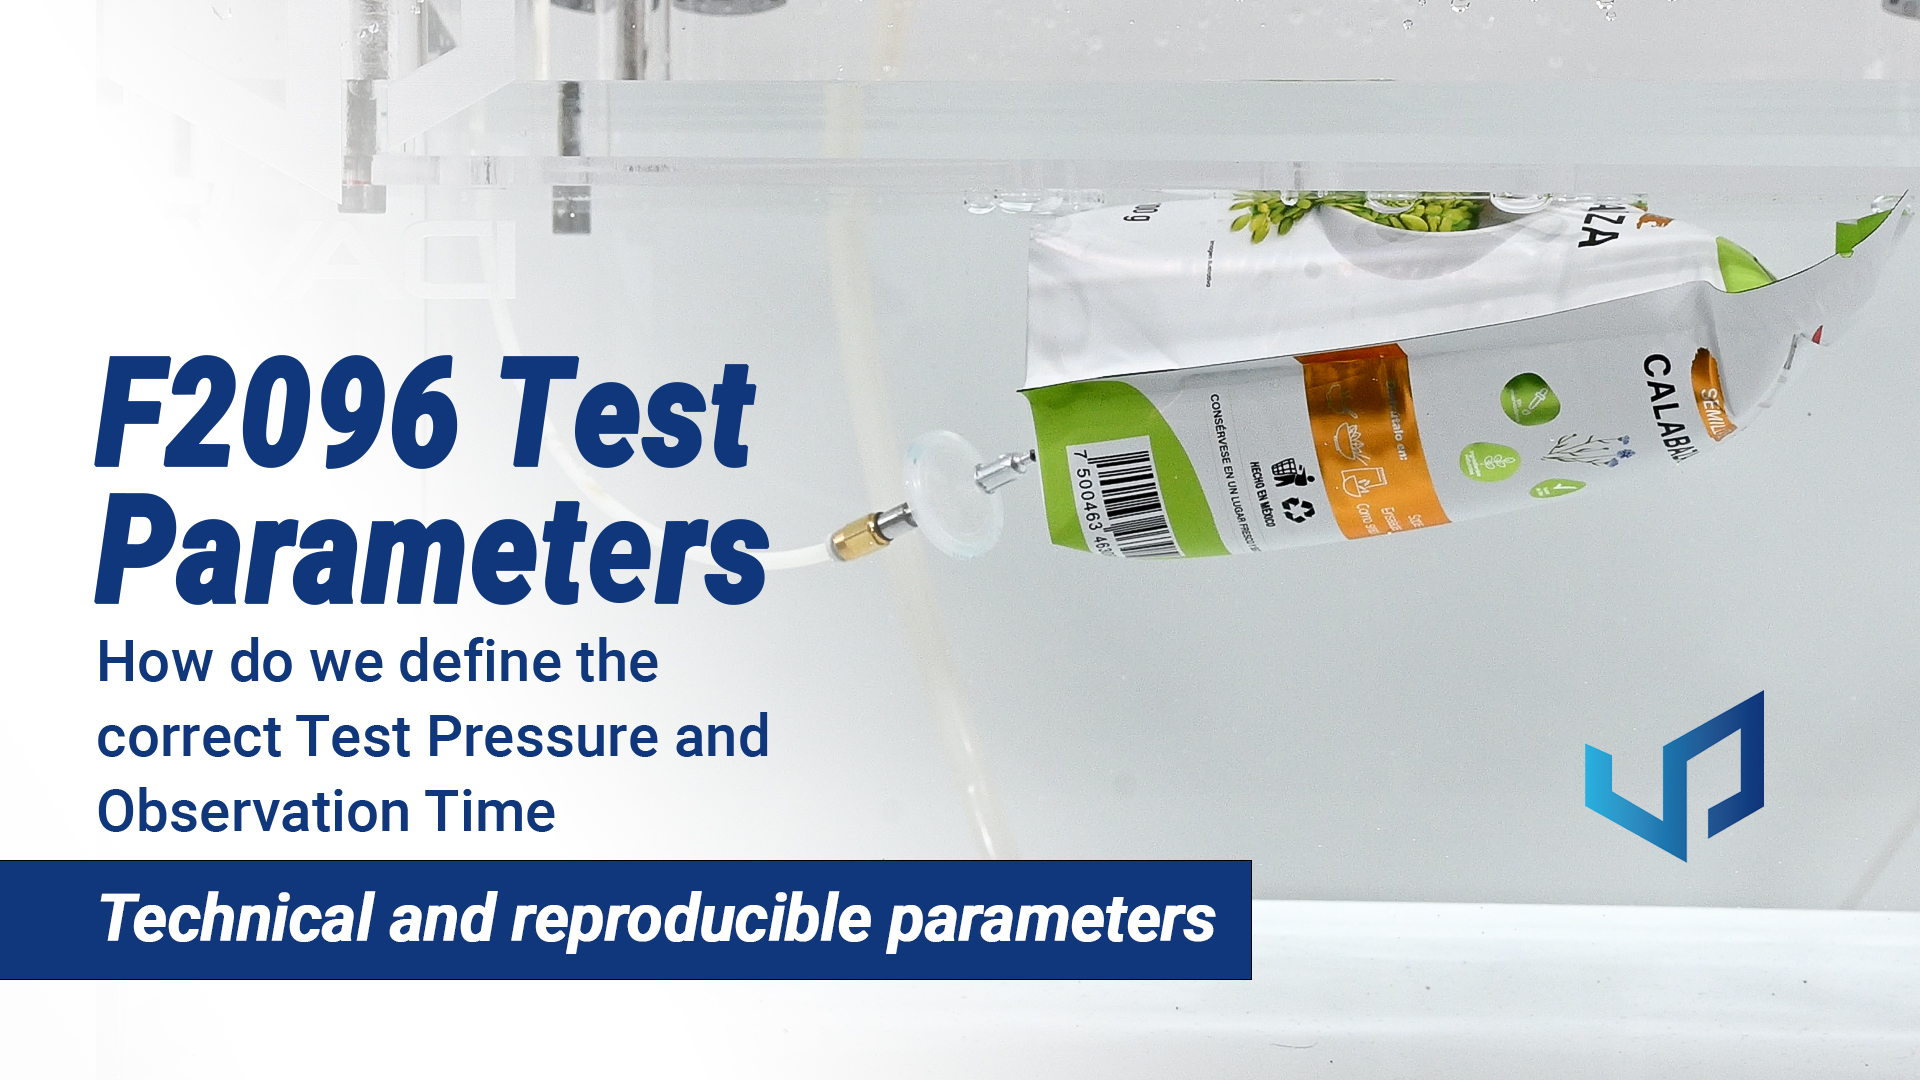
How to Define Pressure and Time Parameters – ASTM D3078 Bubble Leak Test
How much vacuum can you apply to detect real leaks without deforming the package?
In this post, we explain how to define the correct pressure test and time parameters based on ASTM D3078, the standard method used to detect gross leaks in flexible packaging. We will also share a tip that the standard does not mention but can significantly improve the reliability of your results. Stay until the end to learn what it is.
In this tutorial, you’ll learn:
- What the standard does and does not specify.
- How to define the correct test parameters, and how to interpret its recommendations.
Standards mentioned
ASTM D3078 – Standard Test Method for Determination of Leaks in Flexible Packaging by Bubble Emission.
ASTM D6653 – Standard Test Methods for Determining the Effects of High Altitude on Packaging Systems by Vacuum Method.
ASTM D4991 – Standard Test Method for Leakage Testing of Empty Rigid Containers by Vacuum Method.
ASTM E515 – Standard Test Methods for Leak Using Bubble Emission Techniques.
What the standard does and does not specify
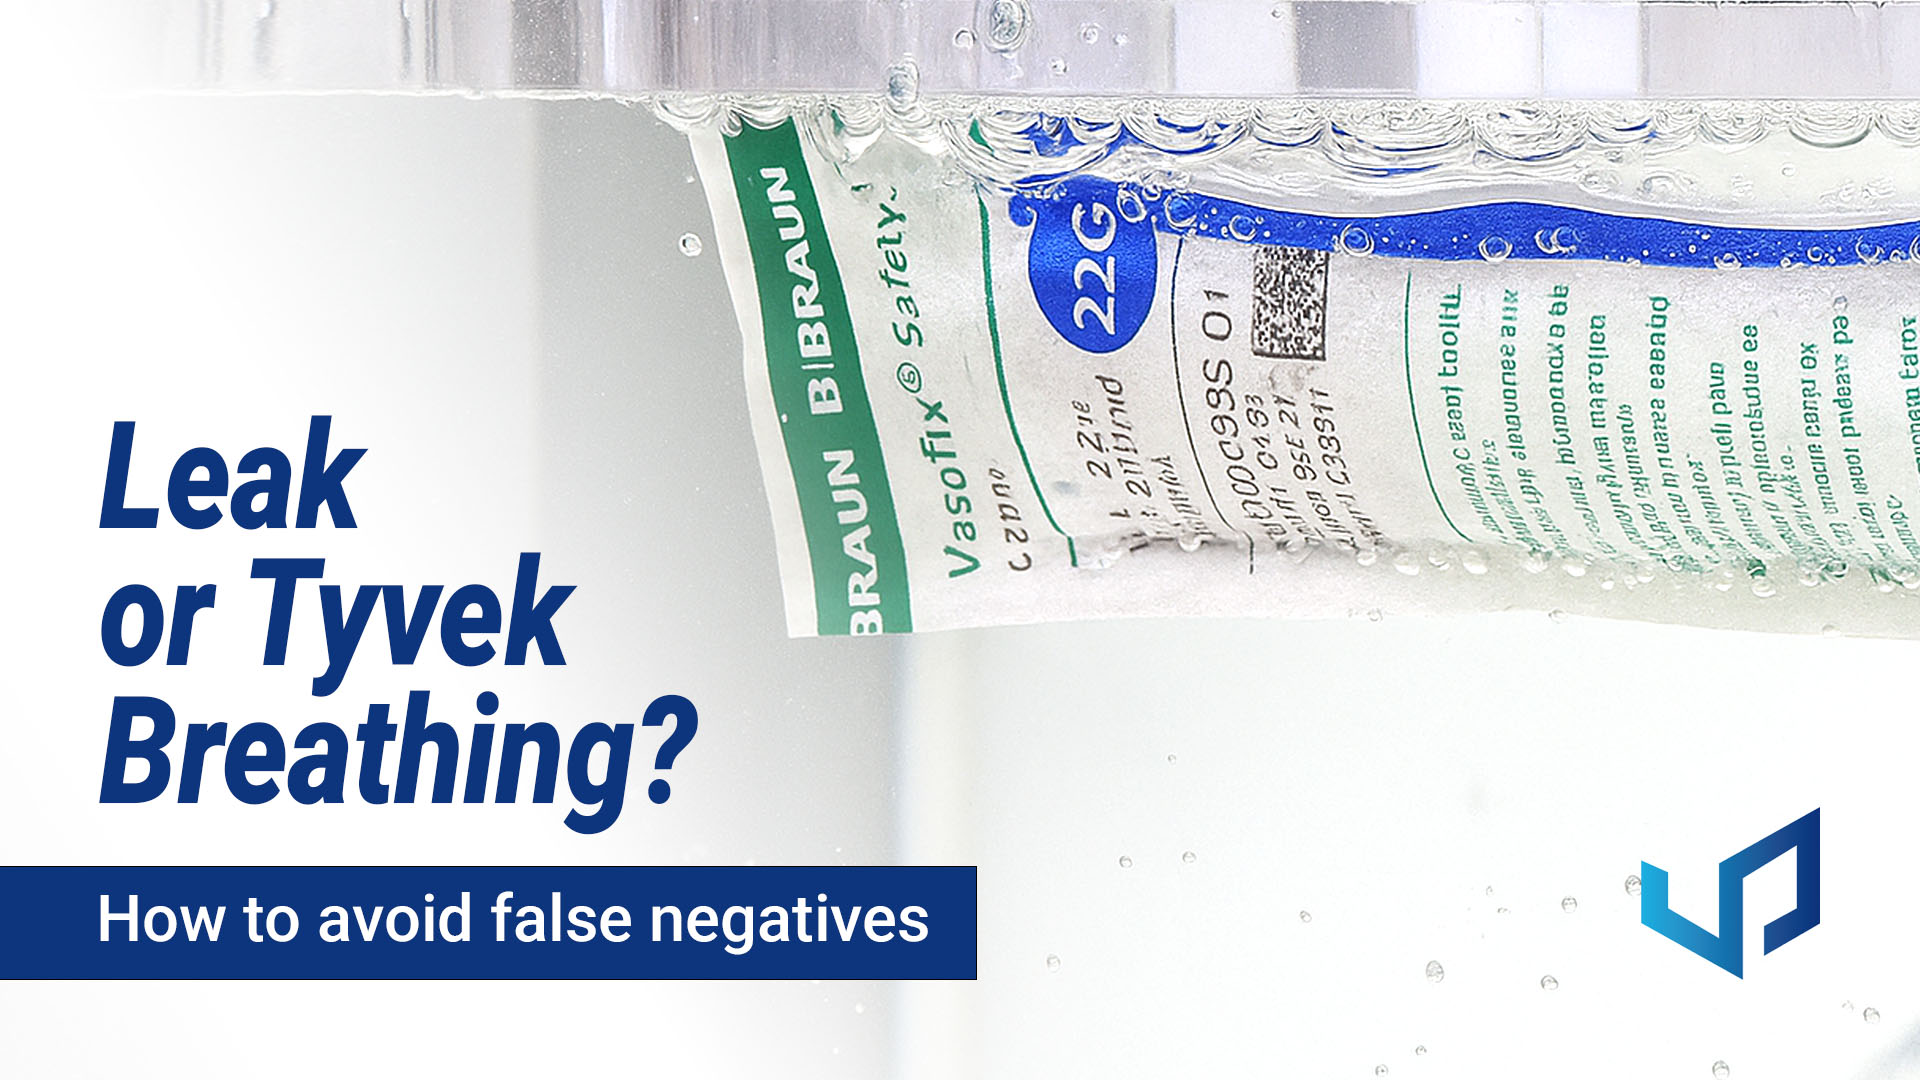
The standard describes the bubble leak test: the package is submerged in water, vacuum is applied, and the operator observes whether bubbles appear. A continuous or localized emission indicates a leak; if no bubbles appear and no test fluid enters the package, the sample passes.
The standard does not define specific vacuum levels or exposure times, because every package behaves differently depending on size, material, and mechanical strength. That is why each user must establish their own parameters.

Vacuum should be applied gradually, at approximately 1 inHg/s (equivalent to 3.3 kilopascals per second ), to prevent excessive stress on the package. Once the desired vacuum level is reached, it is maintained for at least 30 seconds while observing the sample.

However, the standard does not specify which vacuum level to use. This is where the practical methodology we use at DVACI becomes essential.
How to Determine the Correct Test Parameters?
ASTM D3078 instructs the user to select the highest vacuum level possible to reveal leaks—but without deforming or damaging the package. To achieve this balance, the standard identifies three limiting factors:
– Package Fragility
– Expansion under reduced pressure
– Boiling Pressure of the test fluid

Based on our experience, DVACI adds a fourth practical factor:
– Altitude or atmospheric pressure variations, which affect packaging integrity during transportation.

Package Fragility
Before defining the vacuum level, identify the package’s failure pressure — the point where it begins to deform or fail under vacuum. Knowing this limit allows you to select a vacuum level that is both safe and sensitive.
At DVACI, we recommend applying approximately 70% of the failure level as your operational vacuum. This provides sufficient pressure differential to reveal leaks without compromising product integrity.

Examples:
– If the package bursts at –70 kPa (30 kPa absolute), the test vacuum should be around –50 kPa.
– If it fails at –50 kPa, the test vacuum should be approximately –35 kPa.

This approach is simple, reproducible, and easy to validate in a laboratory setting. Some packages—such as easy-open designs—are intentionally weak in certain areas and cannot withstand high pressure differentials. In those cases, the vacuum must never exceed the measured failure point.
Once the failure point is determined, the 70% rule provides a reliable and safe vacuum level for testing.
Degree of Package Expansion
Some flexible materials are highly elastic and, under vacuum, may expand significantly without rupturing. This expansion alters the internal conditions of the package—volume increases and internal pressure decreases—which reduces test sensitivity and does not represent real-world conditions.
While there are complex formulas to calculate deformation tolerance, in practice they’re difficult to apply consistently.

At DVACI, we’ve developed a specific AI prompt tool to help define the appropriate vacuum level for each packaging type. By entering your packaging and test condition data, it automatically suggests recommended parameters.
Boiling Pressure of the Test Fluid
The third factor depends on the immersion fluid. Boiling is directly linked to pressure: at higher altitudes, water boils at lower temperatures; at sea level, at higher ones. The same principle occurs in an D3078 test. When vacuum is applied, the pressure around the submerged package decreases; if a leak exists, the internal air expands and forms bubbles.
That is why controlling the vacuum level is critical: too much negative pressure can cause misinterpretation by triggering boiling of the water.

Water boils at approximately 3.17 kPa absolute at 25 Degrees Celsius — a vacuum level almost never reached in typical tests. However, well before actual boiling occurs, water begins to release dissolved air.

In practice, degassing can begin around 15 kilopascals absolute ≈ –86 kPa gauge, depending on water temperature and dissolved gas content.

Once water begins to form bubbles due to degassing, those bubbles no longer come from the package—they come from the fluid itself, contaminating the observation.

For this reason, DVACI recommends visually identifying the point at which degassing begins in your specific system. That point establishes the upper safe limit for your vacuum test.
DVACI Tip – How to Degas Before High Vacuum Tests
When high vacuum levels are required, we recommend pre-degassing the fluid — following ASTM D4991.
Apply a vacuum cycle without samples, hold the target pressure for at least 10 minutes, then vent the chamber.

This simple step removes most dissolved gases, allowing for extreme vacuum testing with far fewer false bubbles.

Fluid for Immersion Testing ASTM E515
Although water is the most commonly used immersion fluid, we recommend consulting ASTM E515, which describes other test fluids that may be used depending on the application, such as ethylene glycol or mineral oil, as they may offer specific advantages in certain testing scenarios.
Altitude and Pressure Variations in Aircraft Transport
Many customers ask whether their packaging will leak during a flight. Although commercial aircraft fly at around 10,000 meters, which corresponds to a cabin pressure of about 75 kilopascals absolute — a differential of roughly –25 kPa compared to sea level.

If the product has a failure level of -30 kPa, to ensure reliable air performance, we recommend performing two complementary tests:

– First test: –20 kPa vacuum, consistent with ASTM D3078’s operational range.

– Second test: –25 kPa vacuum, to verify that the package will withstand the typical pressure differential inside an aircraft cabin.

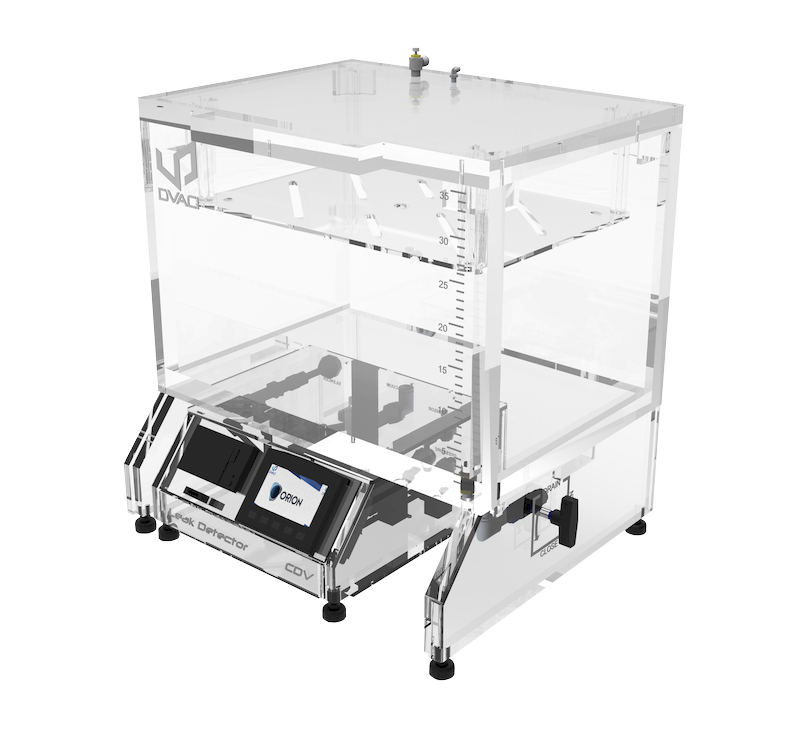
Our model P control module allows up to four vacuum levels to be programmed within a single test, enabling controlled evaluation of the package’s behavior under different pressure conditions during one test cycle.

We’re going to create three practical examples of test parameters, where we put theory into practice. When they’re ready, we’ll share the posts on our website.
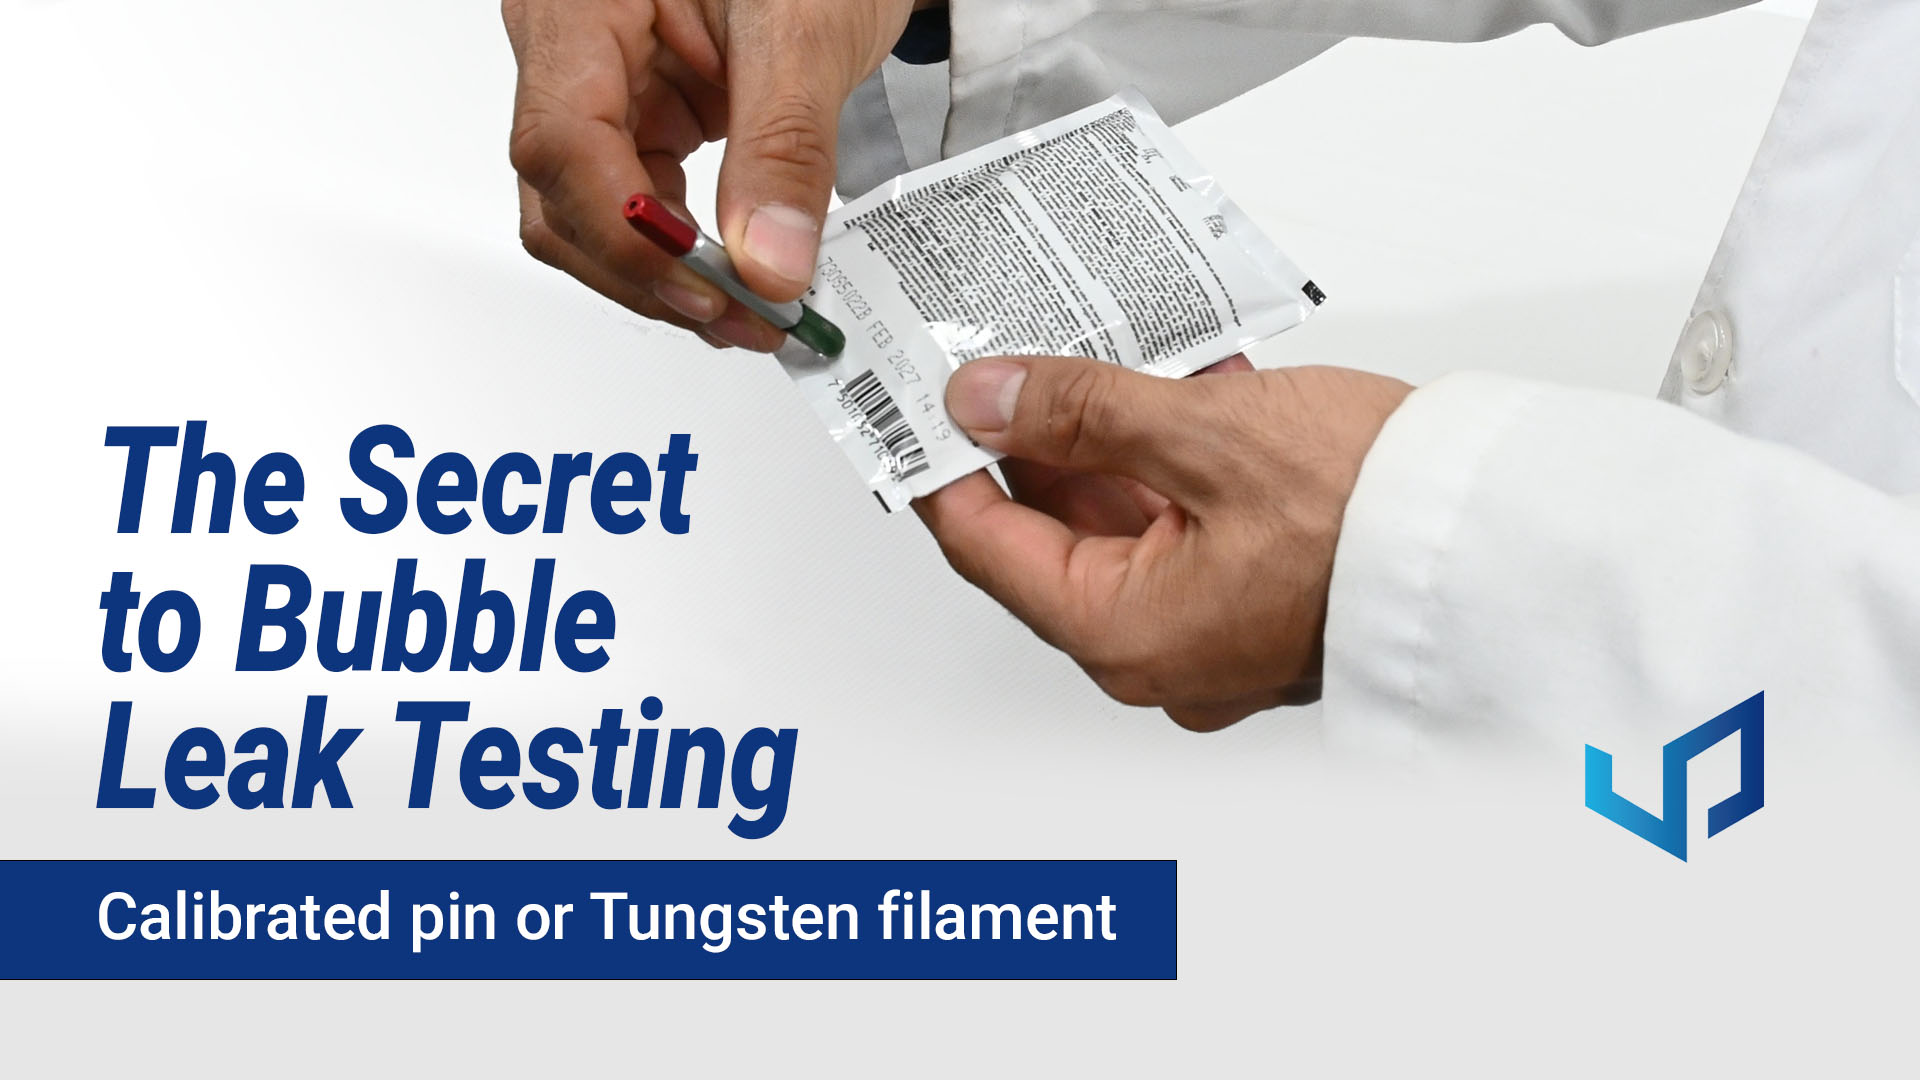
Tip Before We End: The Control Sample
Before closing, we want to share a recommendation not included in ASTM D3078 but one that can significantly increase the reliability of your results: At DVACI , we always use a control sample to validate the setup before running full tests.
A package with a clearly identified, known leak that we use to establish the test parameters and to confirm that the leak test detects real defects, rather than false positives.


If you’d like us to evaluate your samples, complete the contact form. We will gladly send you a free demonstration video with specific recommendations.
If this content was helpful, we invite you to subscribe and share it with the QA team.
We can help you. Contact us!

